S.T.A.L.K.E.R. 2 mods: Steam Workshop, mod.io or the ~mods folder
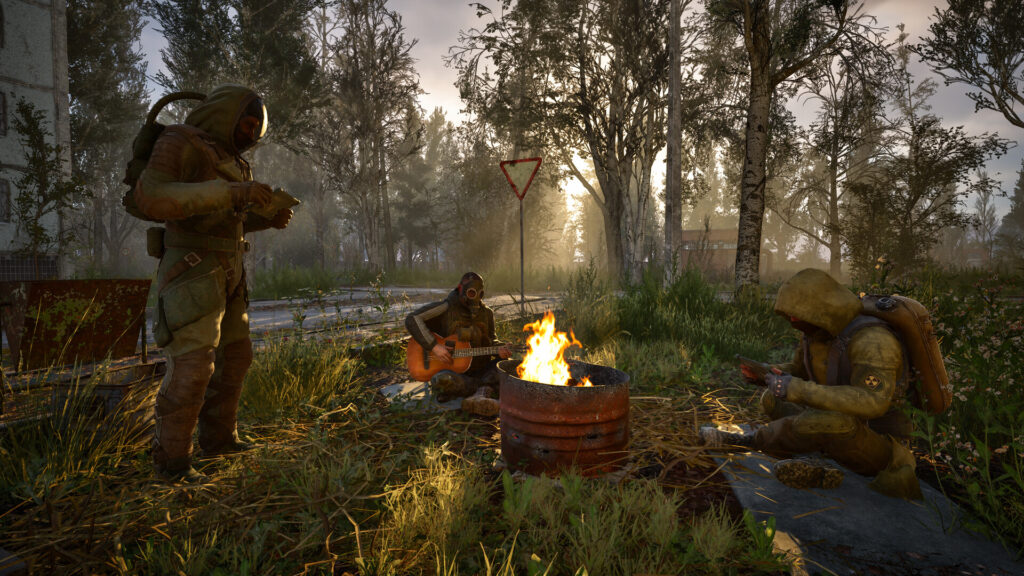
This guide is for anyone who wants to add mods to S.T.A.L.K.E.R. 2: Heart of Chornobyl without breaking their install. By the end you will know the difference between the official Workshop route and the manual ~mods folder, and how to use each one without mixing them up.
Back up your save folder before you install anything. Mods can change how missions trigger or how items behave, and a clean save is the easiest way to recover if something misbehaves.
The official route: Steam Workshop and mod.io
Mods built with GSC Game World’s Zone Kit get published on the Steam Workshop or on mod.io. Subscribe to one through either platform and it mounts automatically the next time you load the game. You do not need to touch any files yourself.
You also do not need the Zone Kit itself. That is the editor mod creators use to build these mods, and it takes hundreds of gigabytes of disk space. Unless you plan to build mods rather than play them, leave it uninstalled.
The manual route: the ~mods folder
Many mods on Nexus Mods are not packaged for the Workshop. These use a manual folder instead. The folder sits inside Stalker2ContentPaks in your install directory, under the name ~mods. It does not exist by default, so you create it yourself.
Keep the tilde in the folder name. Without it, the game will not read the files inside.
- Go to your game’s install folder and open Stalker2ContentPaks.
- Create a new folder named ~mods, keeping the tilde.
- Download the mod’s files from its own page on Nexus Mods.
- Copy the .pak file into the ~mods folder, along with any .utoc or .ucas files that came with it.
- Launch the game and check the mod is working before adding anything else.
On the Game Pass version the path is slightly different. Look for ContentStalker2ContentPaks inside the game’s install directory and create the ~mods folder there instead.
Script loaders and other tools
Some Nexus Mods files also need a script loader such as UE4SS to run. If the mod page says this is required, install the loader exactly as that page describes. GSC Game World lists unofficial tools like this among the things that can cause problems after a game update, so check whether the loader needs updating too.
Managing mods without losing track
Vortex can handle the manual ~mods route for you, tracking which .pak and .utoc files belong to which mod. For the official route, the game’s own Mod Browser shows everything you have subscribed to through Steam Workshop or mod.io.
If a mod seems to linger after you thought you removed it, check both places: your Workshop or mod.io subscriptions, and the ~mods folder itself. A mod can still be active in one even after you have dealt with the other.
Picking one source per mod
Take each mod from a single source rather than grabbing the same mod from the Workshop and from Nexus Mods at once. Running two copies of the same mod through two different systems is a common cause of conflicts and crashes.
Add mods one at a time. Install a single mod, launch the game, and play for a while before adding the next. This makes it far easier to work out which mod caused an issue if one turns up.
If something goes wrong
If the game fails to load or a level behaves oddly after adding a mod, remove the most recent addition first. For the manual route, delete its .pak and any matching .utoc or .ucas files from the ~mods folder. For the Workshop or mod.io route, unsubscribe through the platform or the in-game Mod Browser.
If problems started after a game update, check whether the mod or its script loader has been updated to match. Unofficial tools often need their own update separately from the game.
Uninstalling any manual mod is as simple as deleting its files from the ~mods folder. If the folder ends up empty, you can leave it in place for the next mod or remove it entirely.
Keep a short note of which mods you have installed and where each one came from. When you are juggling the Workshop, mod.io, and a manual folder at once, that list saves far more time than it takes to write.