Drag racing in BeamNG.drive: measuring on the dyno, gearing for the strip, traction, and reading a timeslip
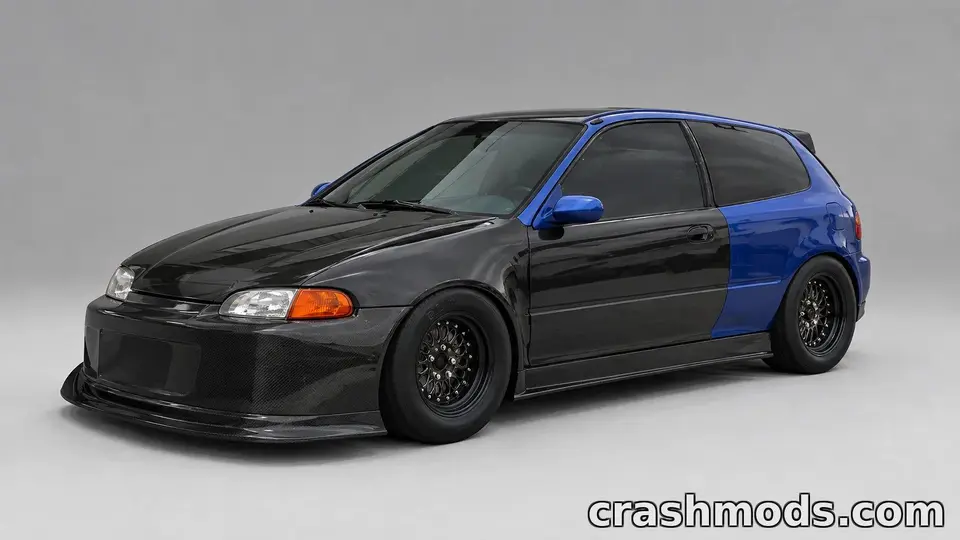
The most downloaded file on ModsDrop in October was a free dyno, and drag builds keep appearing in the weekly charts: a Civic EG6 with K20, K24 and 2JZ swaps, a 1969 Camaro ProMod built to class rules. Drag racing suits BeamNG.drive perfectly, because the powertrain simulation is detailed enough that gearing, traction and weight transfer decide the result the way they do on a real strip. Here is how to build, measure and run a drag car in the game.
Measure before you change
A drag build starts with numbers. The game’s own UI apps include a torque and power curve display, and a dyno mod adds a proper test bench with repeatable runs. Record the baseline: peak power, peak torque, and where in the rev range each one sits. Every change afterwards gets a new run. Without measuring, it is easy to fit a bigger turbo, feel more speed, and miss that the car now has nothing below 5,000 rpm.
Power where you need it
Peak power sells parts; area under the curve wins races. For a drag car you want the engine to stay in its strongest band through every gear change. A huge turbo with a narrow band needs close gear ratios to stay in it; a broad, flat torque curve forgives wider ratios. The dyno shows which kind of engine you have built.
Gearing
- Final drive: set it so the car crosses the finish line near the top of its last gear, not on the limiter and not two thousand rpm short. Drag strips are a quarter mile (about 402 m) or an eighth (about 201 m); gear for the distance you run.
- Gear spacing: after each shift, the engine should land near the start of its power band. If revs fall into a hole after a shift, the gap between those gears is too wide.
- Launch gear: too short and the tyres spin uselessly; too tall and the car bogs. The right first gear is the one where the tyres just hold under full throttle.
Traction
Most runs are lost in the first sixty feet. Drag tyres or the stickiest compound available at the driven axle, lower tyre pressures there for a bigger contact patch, and a suspension setup that lets weight transfer to the driven wheels at launch: softer rear springs and a little more front rebound on a rear-drive car help the rear squat and dig in. Where a car offers launch control or a two-step rev limiter, use it; consistency is what wins a bracket.
Weight
Every kilogram removed is acceleration gained, and the parts menu often has lighter panels, seats and wheels. Class rules work the other way: proper drag classes set a minimum weight for a given engine, which is why a class-built mod like the Camaro ProMod ships with ballast options for its classes. If you race friends, agree on a class, or the fastest car is simply the lightest one with the biggest engine.
Reading a timeslip
- RT (reaction time): how quickly you launched after the green light. A negative or “red light” means you jumped the start.
- 60 ft: time to the first sixty feet; the traction number.
- ET (elapsed time): time from leaving the line to the finish. The car’s number.
- Trap speed: speed at the finish; the power number. High trap speed with a poor ET means the power is there and the launch is not.
In a heads-up race the first car across the line wins, so reaction time counts. Version 0.40.2 fixed the game’s drag win checks to use both ET and RT everywhere, so the result now matches real heads-up rules.
Running it
- Warm the tyres with a short burnout if the car has the power for it.
- Stage at the line, bring the revs to your launch point, launch on green.
- Shift at the point where the next gear lands in the power band, which the dyno told you; that is usually just past peak power, not at the limiter.
- Note the timeslip, change one thing, run again.
Save the build
When a setup works, save it as a configuration with the key numbers in the name (“ET 10.4 – 245 drag radials, 3.9 final”). Builds like that are exactly what people download from mod pages, and as a config pack they cost a few kilobytes to share.
 How to set up a BeamNG.drive car for drifting: differential, steering angle, tyres, alignment and gearing
 How to install BeamNG.drive map mods, and what to do when a map will not load
 ModsDrop in October 2026 in numbers: 14,536 downloads, 141 countries, 2,950 new files
 BeamNG.drive photo mode: better screenshots of your cars and better previews for mod pages