BeamNG.drive photo mode: better screenshots of your cars and better previews for mod pages
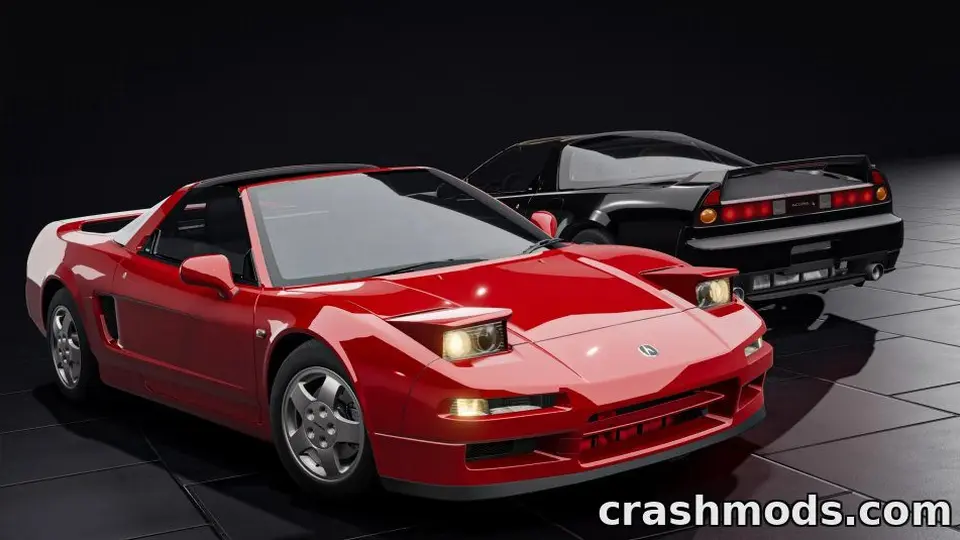
A good screenshot is the reason most people click on a mod, and the reason many of them never come back to it. BeamNG.drive has a capable photo mode that most players open once and forget. Whether you want better pictures of your own builds or better previews for a mod page, here is how to get them, with the settings that matter and the habits photographers use.
Opening photo mode
Photo mode is in the radial menu and the pause menu. It freezes the simulation, hides the interface, and gives you a free camera with controls for the lens, focus and exposure. Version 0.40 added an early overlay editor on PC for framing guides and text, and 0.40.3 improved the information shown about supersampling and upscaling, which decides how sharp the saved image is.
The settings that matter
- Field of view: the single biggest change to how a car looks. Wide angles stretch the nearest part of the car and make it look cheap. Narrow angles, roughly the equivalent of a 50–85 mm lens, compress the car into flattering proportions. Move the camera back and narrow the field of view rather than shooting close and wide.
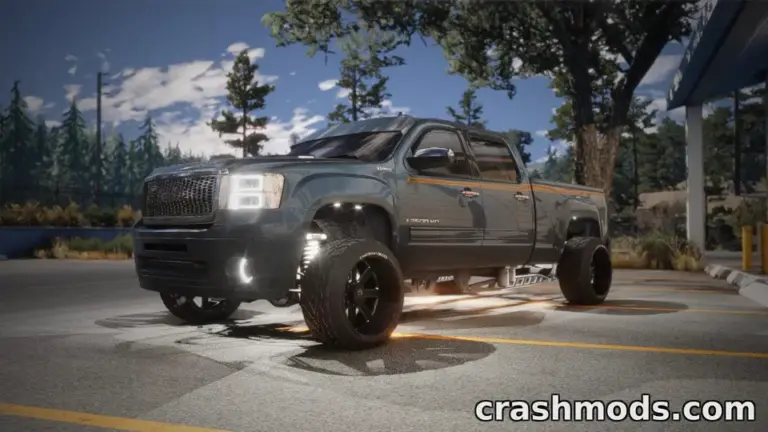
- Height: most press photos are taken from about headlight height. Shooting from standing eye level makes every car look like it is parked in a supermarket.
- Depth of field: a little blur in the background separates the car from it. Focus on the front wheel or the headlight nearest the camera.
- Exposure: protect the highlights. A blown-out sky or white paint loses detail that cannot be recovered.
- Supersampling: rendering at a higher resolution than the screen and scaling down removes jagged edges. It costs time per shot, not frames while driving, so use it for every final image.
Light and weather
The environment menu sets the time of day and weather, and 0.40 added a temperature editor alongside. The classic choice is the hour after sunrise or before sunset: low, warm light that shows the body lines. Overcast skies are kinder to dark paint and show the shape without harsh reflections. Midday sun is the hardest light to work with; it flattens everything.
Composition
- Three-quarter front: the standard shot. Front wheel turned slightly away from the camera, so you see the face of the rim, not the tyre tread.
- Rear three-quarter: the second shot, from the other side.
- Profile: exactly side-on, camera at the centre of the car, long lens. Shows proportions and wheel fitment.
- Detail shots: the interior, the engine bay, the wheels, the badge. These are what tell a viewer a mod is well made.
- Background: simple. A car park, an empty road, an airfield. A busy background fights the car for attention.
Motion
For a moving shot, drive at a steady speed, pause into photo mode, and use a longer shutter if offered to blur the wheels and background while keeping the car sharp. Spinning wheels are the difference between a car that looks driven and one that looks parked.
For mod pages
Preview images do a job: they tell a visitor in two seconds what the file is and whether it is any good. If you upload mods, take these at minimum:
- A three-quarter front shot of the default configuration, in daylight, as the cover.
- The rear three-quarter.
- The interior, if the mod has one worth showing.
- The configurations side by side, if there are several; a grid of four is more useful than four separate shots.
- One shot of what makes the mod special: the damage model, the engine, a working dashboard.
Use your own screenshots of the actual mod at normal settings. Photos of the real car, other authors’ renders and images borrowed from other sites mislead downloaders and are a copyright problem; the mod description guide covers the rest of a good page.
Saving and sizing
Save at 1920×1080 or larger, in PNG if the page accepts it, and crop to 16:9 for covers. Keep the originals; a page can always use a smaller copy, never a larger one. Leave watermarks off. A clean image of a good mod is its own signature.
 BeamMP and mods: how multiplayer syncs mods, what a server can require, and what stays on your side
 BeamNG.drive 0.40 for modders: World Editor changes, the isInside flag, the occupant system, and the three UI breaking changes
 Traffic in BeamNG.drive: setting it up, choosing a count your CPU can take, and what traffic mods do and do not change
 The BeamNG.drive modding pipeline: Blender and Collada, JBeam, materials, the World Editor and Lua