Overstrike for Marvel’s Spider-Man Remastered: installing .smpcmod and .suit files
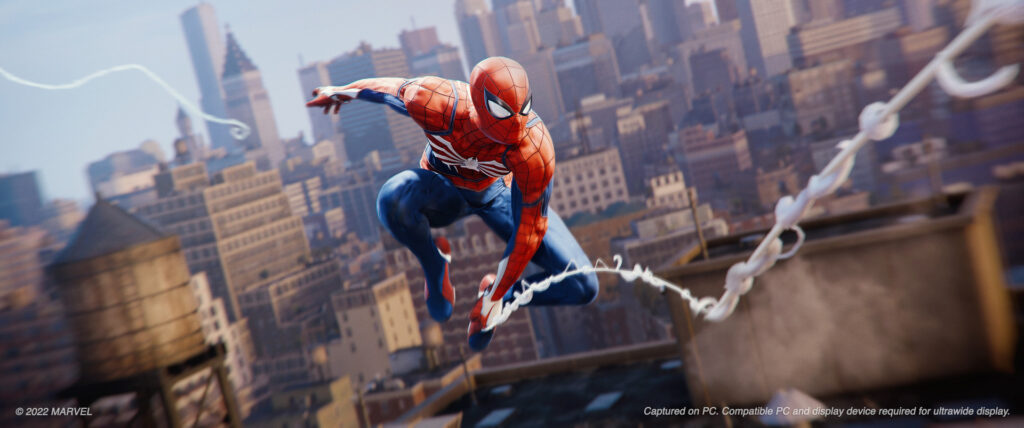
This guide is for PC players who want to add community-made suits and other files to Marvel’s Spider-Man Remastered using Overstrike. It covers getting the manager running, adding files, setting load order, and sorting out the Suits Menu. By the end you will be able to install, reorder and remove mods without breaking your save.
Before anything else, understand what you are dealing with. The .smpcmod and .suit files covered here are community mods, mostly found on Nexus Mods. They are not the same as the Suit Mods you craft and equip inside the game itself. Those are built-in game items, not mods, and this guide has nothing to do with them.
What Overstrike is and what it needs
Overstrike is an open-source mod manager built for PC ports of Insomniac games, including this one. It needs the .NET 7.0 Desktop Runtime installed on your system before it will run. Once that is in place, it can read .smpcmod, .suit, .stage and .modular files, which covers most of what you will find for this game.
Back up your saves first
Saves live in DocumentsMarvel’s Spider-Man Remastered<user id>. Copy that folder somewhere safe before you install anything. This matters because the game will crash if you uninstall a .suit file while that exact suit is still selected in your save. If you plan to remove a suit later, switch to a stock suit in-game first, then uninstall. Skipping this step is the most common way people end up with a save that will not load.
Setting up Overstrike and adding mods
On first launch, Overstrike checks for the game in its usual install location and suggests a profile automatically. If it finds the game, accept the suggestion and move on.
Getting mods into the manager is straightforward. You can either drop the mod files directly into Overstrike’s Mods Library folder, or use the green plus button inside the app to add them. Overstrike can also read mods straight out of .7z, .zip or .rar archives, so you do not always need to extract files manually first.
Installing mods
Once your mods are sitting in the library, follow this process each time:
- Tick the checkbox next to each mod you want active.
- Drag mods up or down to set the load order. Overstrike does not sort this for you automatically, so if a mod author gives a specific order in their instructions, follow it exactly.
- Press “Install mods”.
- Wait for confirmation in the bottom-left corner.
“Mods installed” means everything went through and the game is ready to launch. “Error occurred.” means nothing changed, the game is left unmodded, and you need to check errors.log for details on what failed.
You must press “Install mods” again every time you change anything, whether that is ticking a new mod, changing the order, or switching profiles. Overstrike does not apply changes on its own just because you altered the list.
Managing suits
The Suits Menu tab inside Overstrike lets you reorder suits, remove entries from the list, and change their icons or models. None of these changes take effect until you press “Install mods” again, so do not expect to see updates just by editing the list.
If you have used the older SMPC Tool before, Overstrike can import those mods for you. Launch Overstrike from that tool’s folder and it will offer to bring the mods across while keeping their existing order, which saves you having to rebuild everything from scratch.
If something goes wrong
If you get “Error occurred.”, open errors.log and read what it says. Most issues come down to a mod file that does not match what Overstrike expects, or a conflict between two mods trying to touch the same slot.
If the game crashes on load after installing a suit mod, check whether you uninstalled a .suit file while it was still selected in your save. Load an earlier save backup, switch to a stock suit, then try removing the mod again.
If mods simply do not appear in-game despite a successful install, double-check the load order. Some mods depend on loading after or before another file, and getting that order wrong can mean one mod silently overrides another.
To uninstall a mod cleanly, untick it in Overstrike’s list and press “Install mods” again. If it is a suit mod, make sure you are not using that suit in your current save before you do this.
Keep a copy of your mod files outside the Mods Library folder as well as your save backups. That way, if an update to Overstrike or the game changes how something loads, you can reinstall from scratch without hunting for files again.
 Drag racing in BeamNG.drive: measuring on the dyno, gearing for the strip, traction, and reading a timeslip
 How to install Euro Truck Simulator 2 and American Truck Simulator mods: the folder, the load order and the version warning explained
 How to read the BeamNG.drive log to find the mod that crashes your game
 The developer console in ETS2 and ATS: how to enable it, and the commands mod users actually need