How to install BeamNG.drive skins, and why some need another mod first
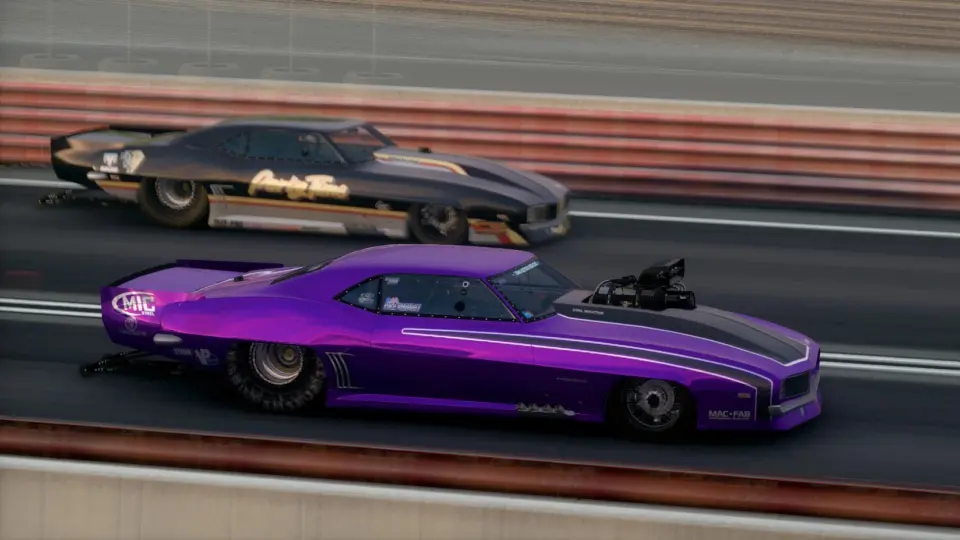
A skin changes what a car looks like without changing what it is: a livery, a company logo, a two-tone paint scheme, a racing number. Skins are small, plentiful and the most common thing a new modder makes, which also makes them the most common thing that is installed wrong. Here is how skins work in BeamNG.drive, how to install one, and why some refuse to appear.
How a skin works
A skin is a texture (a .dds or .png image) painted over the car’s body, plus a few lines of JBeam that register it as a selectable “skin” part in the parts menu. Some skins also carry a materials file that tells the game how shiny or matte the paint should be. That is all. A skin has no model and no physics, so a skin zip is typically a few megabytes to a few tens of megabytes; one of several hundred megabytes contains uncompressed 4K or 8K textures, which look no better at normal viewing distance and cost video memory.
Installing
Into the mods folder, zipped, like every mod. The skin then appears in the parts menu of the car it was made for, under the Skin (or Paint design) slot. It does not appear in the vehicle selector as its own car unless the author also included a .pc configuration using it; many do, which is why a skin pack sometimes also adds entries to the configuration list.
Why a skin does not show up
- Wrong car. A skin is made for one specific vehicle: the folder under
vehicles/in the zip tells you which. A skin for the Gavril D-Series does nothing on the Roamer, even though they share parts. - Modded car not installed. Skins for a modded BMW need that BMW mod; the skin alone has nothing to paint. The author’s page lists the requirement; check it before downloading.
- Looking in the wrong place. Skins live in the parts menu, not the vehicle selector. Open the car, open the parts tree, find the Skin slot.
- Two skins with the same internal name. Two authors who both call their skin “racing” produce one entry that shows one of the two textures. Nothing is broken; only one can win. Deactivate the one you do not want.
- The car was updated. When a vehicle mod gets a new version with a changed UV layout (the way the texture wraps around the model), old skins for it come out misaligned or scrambled. That needs the skin’s author to update; it happens most often after big remasters.
Skins on stock cars after 0.40
Version 0.40 did a major cleanup of common assets and duplicate materials. Skins for the official cars that only add a texture and a JBeam entry were not affected. Skins that shipped their own copy of a material definition to override the game’s may now point at a material name that changed; the symptom is a car that loads with the default paint. The fix is the author’s, and usually small.
Skins versus paint
Do not confuse a skin with a colour. The paint menu lets you set any colour, metallic, roughness and clear coat on any car with no mod at all, and a .pc configuration saves that paint. A skin is for designs: stripes, logos, liveries, dirt, rust. If all you want is a colour, you do not need a skin.
Making a simple skin
The game ships template images for its own cars (the UV layout with the panels drawn in). Authors paint over the template in an image editor, save as DDS with mipmaps, and write a short JBeam that declares the skin. The BeamNG documentation covers the exact format, and existing skins in the mods you have are the best worked examples: open one, read its JBeam, and you will see it is a few lines.
For uploaders
Name the car in the title (“Gavril D-Series – Fire Department livery”), state the required mod when there is one, include a .pc so the skin shows in the selector with a preview, and keep the texture at a sensible size. A 20 MB skin that finishes downloading is worth more to you and to the downloader than a 500 MB one that does not.
 BeamMP and mods: how multiplayer syncs mods, what a server can require, and what stays on your side
 The BeamNG.drive modding pipeline: Blender and Collada, JBeam, materials, the World Editor and Lua
 JBeam for players: why BeamNG.drive cars crumple the way they do, and what that means when you download a mod
 ModsDrop in October 2026 in numbers: 14,536 downloads, 141 countries, 2,950 new files