Installing Factorio mods from the in-game mod portal and managing settings
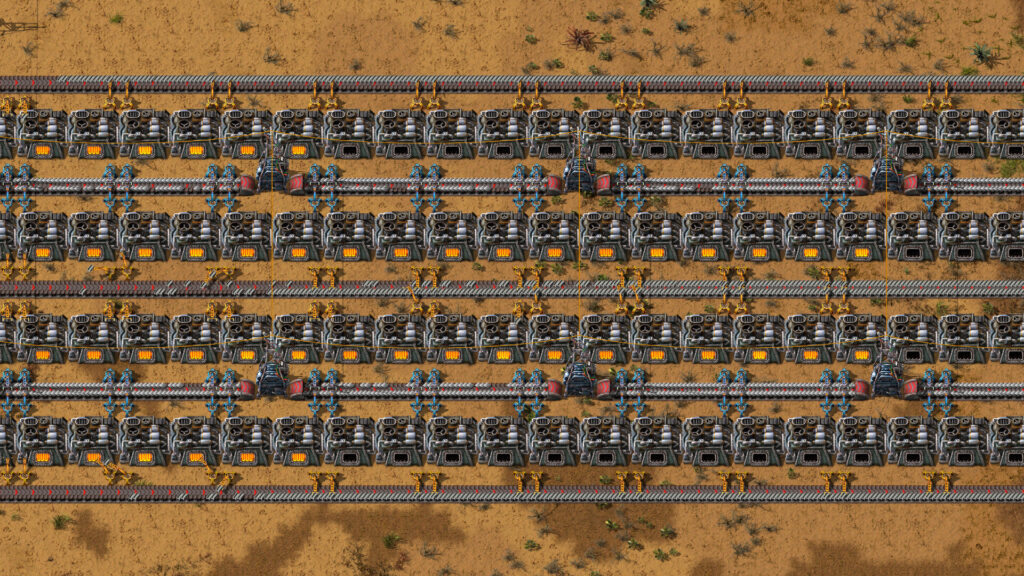
This guide is for Factorio players who want to try community mods but have not used the in-game mod portal before. By the end, you will know how to sign in, install mods safely, and work out what the different settings actually control.
What you need before you start
The mod portal lives inside Factorio itself, under the mods section of the main menu. To download anything from it, you need to sign in with a Factorio account, the same one tied to your copy of the game. Without signing in, the portal will show mods but will not let you install them.
Before touching any mods, back up your saves. Copy your save folder somewhere safe, such as an external drive or a separate folder on your system. Mods can change how a save loads, and in rare cases an older save will not open cleanly once a mod is removed. Having an untouched copy means you can always go back to vanilla without losing progress.
Installing a mod from the portal
Once you are signed in, the process is straightforward. Follow these steps:
- Open Factorio and go to the mods section from the main menu.
- Browse or search the portal for the mod you want. Read its description and any notes from the author about compatibility.
- Select the mod and choose the option to install it.
- Wait for the download to finish, then check that the mod appears in your mod list with a tick or enabled marker.
- Restart the game or reload the mod list if prompted, so the mod actually loads into the session.
Only get mods through the portal or directly from the author’s own listing. Avoid mods packaged from unknown third-party sites, since you cannot be sure the files match what the author actually published.
Understanding the three kinds of settings
Once a mod is installed, it often comes with settings you can adjust. These fall into three categories, and knowing the difference matters:
- Startup settings are locked in before a save loads. Changing one of these usually means you need to restart the game or reload a save for it to take effect. These tend to control deeper, structural things a mod sets up early.
- Map settings apply to the save or world you are currently playing. They can often be changed while playing, and they affect everyone in that game, which matters if you play with others.
- Per player settings are personal. They let each player viewing the same save tweak things like interface options or personal preferences without affecting anyone else in a shared game.
Not every mod uses all three types. Some only offer one or two. Check the settings menu after installing to see what is actually available, rather than assuming based on what similar mods have offered elsewhere.
Start small and test
Install one or two mods at a time rather than a long list at once. Load your save, play for a while, and check that everything behaves as expected before adding more. This makes it far easier to spot which mod is causing a problem if something does go wrong, since you are not trying to isolate the issue from a dozen changes at once.
This also applies to updates. When a mod updates, treat it like a new install for testing purposes. Load up, check your save still opens properly, and keep playing normally for a bit before assuming all is well.
If you plan to play in multiplayer, check whether the mods you are using are suited to that. Some mods are built for single player only and can cause mismatches or desync issues between players, and in some cases using unapproved mods in competitive or ranked online modes can lead to a ban. Read what the author says about multiplayer support before relying on a mod in a shared game.
If something goes wrong
If a save will not load, or the game behaves strangely after installing a mod, start by disabling the most recently added mod and reloading. If that fixes things, you have found your culprit. If disabling one mod does not help, disable them all and test with a clean vanilla load to confirm the save itself is fine.
If a specific mod keeps causing problems, remove it from your mod list entirely rather than just disabling it, then reload your backed-up save if needed. Removing a mod after it has already changed your world can sometimes leave odd traces behind, which is another reason the backup from earlier is useful.
Keep a short note of which mods you have installed and in what order. It sounds basic, but when something breaks weeks later, a quick list saves a lot of guesswork.
 RimWorld mods from the Steam Workshop: subscribing, the mod list and a first setup
 How to install BeamNG.drive skins, and why some need another mod first
 Map mods in Farming Simulator 25: why they need a new savegame, how updates can end a career, and why the zip must never be lost
 Steering wheels and controllers in BeamNG.drive after 0.40: what changed, what the hotfixes fixed, and how to set up