The BeamNG.drive modding pipeline: Blender and Collada, JBeam, materials, the World Editor and Lua
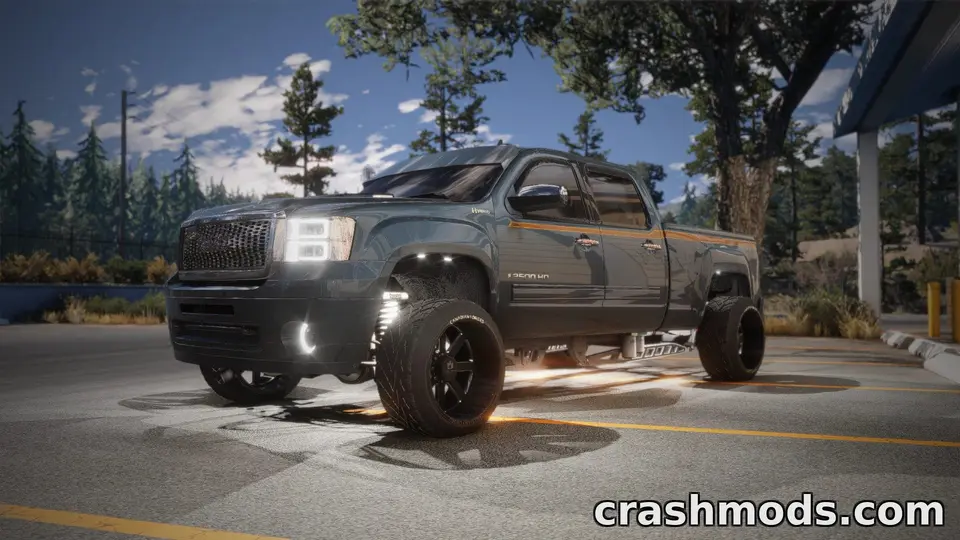
BeamNG.drive is unusually open to modders: vehicles are text files and standard 3D models, the World Editor ships inside the game, and the official documentation covers JBeam, materials and Lua. Here is how a vehicle or a map goes from idea to zip, and what each part of the pipeline does, so that the tutorials and the documentation make sense from the first day.
The pieces
- Blender for the 3D model, exported as Collada (
.dae), the format BeamNG reads for vehicle meshes. - JBeam: the plain-text files that define the physical structure (nodes and beams), the parts and slots, the powertrain, and how the visual mesh attaches to the structure. Any code editor works.
- Materials: JSON material files that tell the renderer which textures each mesh uses and how they behave (the physically based material setup).
- The World Editor, opened in the game with F11, for maps: terrain, roads, objects, lighting, and since 0.40 the Material Editor with video-memory estimates.
- Debug views in the game for nodes, beams, weights and collisions.
- Lua for vehicle controllers, game logic and UI apps; the UI layer is Vue-based, which 0.40 reworked.
- BeamNG’s official documentation site for all of the above.
What a vehicle mod is made of
vehicles/
  mycar/
    mycar.jbeam            the main structure and slots
    mycar_engine.jbeam     parts, one file or many
    mycar.dae              the visual mesh
    main.materials.json    materials
    *.dds / *.png          textures
    info.json              selector name, brand, years, author
    *.pc + previews        configurations
The folder name under vehicles/ is the vehicle’s identity. Choose a unique one; two mods with the same folder name collide.
A typical workflow for a vehicle
- Model in Blender with sensible mesh density, separate objects for parts that move or detach (doors, bonnet, bumpers), and UV maps for texturing.
- Export to
.daeand write materials pointing at your textures. - Build the JBeam: nodes where the mass and structure are, beams connecting them with stiffness, damping and breaking thresholds, then flexbodies that attach mesh parts to node groups. Starting from a structurally similar official vehicle, as a reference for proportions and values, saves weeks; copying its files into your mod is a different matter and needs care with licensing.
- Define parts and slots so the parts menu offers engines, suspension, body options.
- Tune: weight distribution, suspension geometry, powertrain, tyres. This is where good mods separate from the rest, and where the debug views earn their keep.
- Save configurations as
.pcfiles with previews (how). - Zip with
vehicles/at the top level, test in Safe Mode, readbeamng.log.
Maps
Maps are made in the World Editor, inside the running game: terrain from heightmaps, materials painted onto it, roads (decal roads with navigation graphs for AI traffic), placed objects and buildings, lighting and environment. 0.40’s asset cleanup removed duplicate materials and fixed broken texture links on official maps; check that your map does not reference names that changed. Navigation graphs decide whether traffic can drive your roads, so build them as you go, not at the end.
What changed for modders in 0.40
The isInside JBeam flag for occupant volumes, a seat occupant system, the removal of the old v-bng-panel UI directive, faster mod mounting and more; 0.40 for modders lists them with what to update.
Publishing
BeamNG’s official Repository reviews submissions and offers in-game installs; your own page or a host gives you control and keeps older versions available. Either way: test the zip, write the tested version in the description, list requirements, and put your name in the JBeam information blocks and the info file, because that is how your authorship is proven if someone reuploads your work. The release checklist applies in full.
 Drag racing in BeamNG.drive: measuring on the dyno, gearing for the strip, traction, and reading a timeslip
 A balanced BeamNG.drive starter set: cars, maps and extras from ModsDrop
 How to install BeamNG.drive map mods, and what to do when a map will not load
 The BeamNG.drive Mod Manager explained: active, inactive, unpacked, and the habits that keep a long list working