Valheim mods with BepInEx and a mod manager: the usual setup
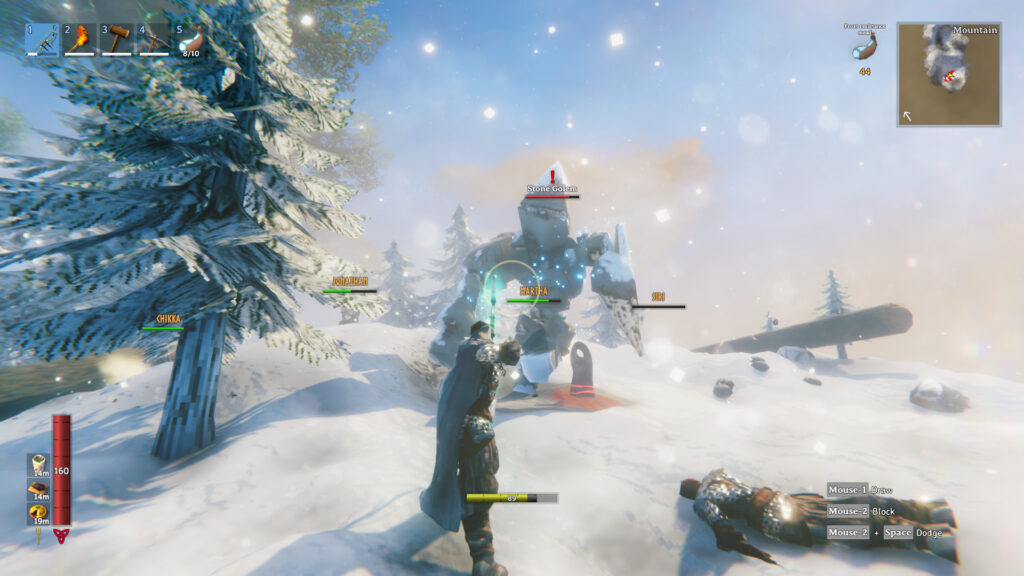
This guide is for Valheim players who want to add mods but have never used a mod loader before. By the end you will understand what BepInEx does, why a mod manager makes life easier, and how to keep your setup organised using profiles. You will also know how to test new mods without risking your world.
Why BepInEx matters
Most Valheim mods are not stand-alone files you drop into the game folder and forget. They rely on BepInEx, a mod loader that sits between the game and the mods themselves. BepInEx reads mod files and hooks them into Valheim so they can change how the game behaves, whether that is adding new building pieces, tweaking survival settings, or improving the interface.
Without BepInEx installed correctly, most mods simply will not load. The game will start as normal, but nothing from your mod folder will appear. This is the single most common reason mods “don’t work” for new modders.
Why use a mod manager
You can install BepInEx by hand, but a mod manager saves you the hassle and reduces the chance of mistakes. Tools such as r2modman or the Thunderstore Mod Manager handle the BepInEx installation for you and let you add mods through a simple list rather than copying files around manually.
These managers pull mods from their source page, so you know you are getting the version the author actually released. That matters for safety as well as convenience, since downloading mods from unofficial mirrors carries more risk of broken or tampered files.
Setting up your first profile
Profiles let you keep separate setups side by side. A profile is a separate mod setup, so you can keep a “vanilla plus a few tweaks” profile alongside a heavily modded one, without the two interfering with each other. If something breaks, you can switch back to a clean profile in seconds rather than uninstalling everything.
Here is the general process most mod managers follow:
- Install the mod manager (r2modman or Thunderstore Mod Manager) and point it at your Valheim installation.
- Create a new profile and give it a name you will remember, such as “testing” or “main”.
- Let the manager install BepInEx into that profile automatically.
- Browse the mod list within the manager and add one or two mods to start.
- Launch Valheim through the mod manager, not through your usual shortcut, so the modded profile actually loads.
Launching through the manager is easy to forget. If you start the game from your normal shortcut instead, it will load without any mods, and you might assume something has gone wrong when it hasn’t.
Start small and test
Before you load up a dozen mods at once, back up your world save. Valheim stores worlds locally, and a backup takes a few seconds but saves hours if a mod corrupts something or changes the world in a way you don’t want.
With your backup in place, start with a small handful of mods rather than everything that looks interesting. Load into a world, play for a while, and check that everything behaves as expected. Once you are confident the first few mods are stable, add more one or two at a time. This slow approach makes it far easier to spot which mod is causing a problem if something does go wrong later.
If you plan to play on a server with friends, check whether that server allows mods and which ones. Servers that run anti-cheat or strict mod lists may ban players running unapproved mods, so confirm before you join with a heavily modified profile.
If something goes wrong
If Valheim crashes on launch or mods don’t appear in-game, work through these checks:
- Confirm you launched the game through the mod manager and the correct profile, not your normal shortcut.
- Check that BepInEx actually installed for that profile; most managers show its status on the profile screen.
- Remove the most recently added mod and relaunch. If the problem disappears, that mod is the likely cause.
- Switch to a clean profile with no mods to confirm the base game still runs fine.
If you want to undo everything, you don’t need to touch your original game files. Simply delete the modded profile in the manager, or switch back to a clean profile. Your vanilla game stays untouched underneath.
Keep one unmodded profile around permanently. It costs nothing to maintain and gives you a reliable fallback whenever a mod update causes trouble.
 Steam Workshop mods in ETS2 and ATS: subscribing, where the files are, updates, removals, and clashes with manual copies
 CKAN for Kerbal Space Program: installing mods with their requirements
 How to install Farming Simulator 25 mods on PC: the mods folder, the zip-name rule and what patches 1.24 and 1.25 changed
 XCOM 2 Mods: How to Use the Alternative Mod Launcher