The ETS2 and ATS modding pipeline: SCS Blender Tools, Conversion Tools, the Extractor, definitions and the manifest
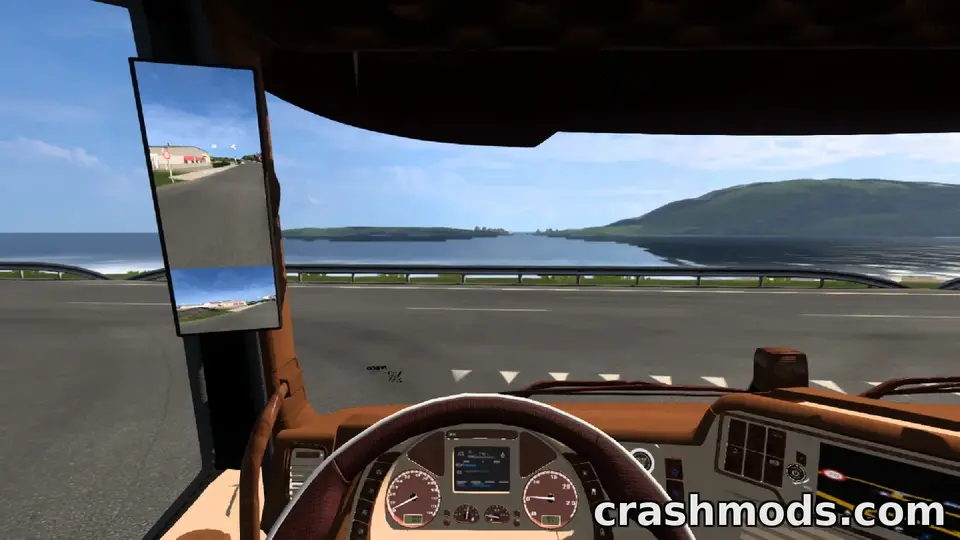
Euro Truck Simulator 2 and American Truck Simulator have one of the best-supported modding pipelines of any game: official export tools, an official modding wiki, a tool to unpack the game’s own files for reference, and Steam Workshop publishing. Here is how the pieces fit together, from a model in Blender to a mod in the Mod Manager, so that the tutorials make sense when you start.
The pieces
- SCS Blender Tools: the official Blender add-on. It handles the games’ material system, locators (attachment points for lights, mirrors, cargo), variants and looks, and exports your work in SCS’s intermediate formats.
- Conversion Tools: SCS’s official tools that convert those exported files into the binary formats the game loads and can package the result.
- SCS Extractor: unpacks the games’ own
.scsarchives so you can read official definitions, see how SCS built a truck or a trailer, and reference the file paths your mod has to match. - The modding wiki: SCS’s official documentation of the definition formats, the folder structure and the tools.
- Workshop Uploader: SCS’s tool for publishing to the Steam Workshop, if you choose to.
What a mod is made of
An SCS mod is a folder structure mirroring the game’s own, packed into an .scs archive (a zip under another name) or left as a zip:
manifest.siiat the top: the mod’s name, author, version (package_version), category, icon, description file and compatible game versions. This is what the Mod Manager displays.def/: the definitions, plain-text.siiand.suifiles that declare trucks, accessories, paint jobs, trailers, cargo, companies and everything the game needs to know.vehicle/,model/and similar: the converted model files (geometry, collision, animation) and their descriptors.material/: materials, and textures as.ddsfiles referenced through small.tobjtexture objects.sound/: FMOD banks for sound mods.
The paths must match what the definitions reference, and for anything that overrides official content, what the game itself uses. That is why the Extractor matters: it shows the paths.
A typical workflow for a truck accessory
- Extract the official truck’s files and study its accessory definitions and locators.
- Model the accessory in Blender, UV it, texture it.
- Set up materials and locators with SCS Blender Tools, then export.
- Convert with the Conversion Tools.
- Write the accessory’s definition in
def/, referencing your model, matching the truck’s accessory slot. - Write
manifest.sii, pack, place in themodfolder, activate on a test profile, checkgame.log.txt.
Paint jobs are simpler (a texture on the truck’s template plus a definition) and are the usual first project; maps are the opposite extreme and use the game’s built-in map editor alongside everything above.
Developer mode while you work
With the console and developer mode enabled (how), you get a free camera, extra information and a live log, which speeds up testing considerably. Keep a dedicated test profile so that your experiments never touch a real career.
Versions and the material system
SCS changes its formats when it adds features. The Improved Material System introduced in 1.60, now being extended truck by truck (the Iveco S-Way and the Volvo VNL in 1.62), is the current example: interiors made for the old system need re-exporting to look right under the new one. Read the release notes’ modding sections and the wiki’s change notes with each version, and set compatible_versions in your manifest honestly.
Publishing
Test the packed archive, not the folder; check the log; write a description with the tested game version and the load-order position your mod needs. Publish on the Workshop, on your own page, on a host, or several of these; each has trade-offs that Workshop versus mod sites explains. The release checklist applies in full.
 Convoy, TruckersMP and mods: what each kind of multiplayer allows in Euro Truck Simulator 2 and American Truck Simulator
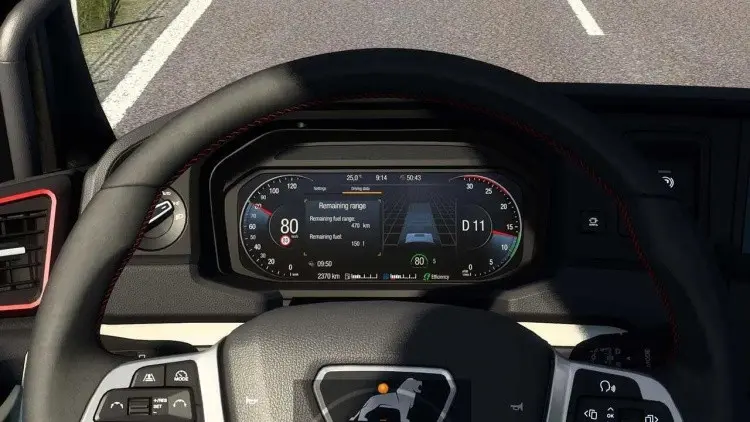 The developer console in ETS2 and ATS: how to enable it, and the commands mod users actually need
 Return to Brackenreach: the 2026 Halloween event in ETS2 and ATS, its goals, rewards and how it sits with mods
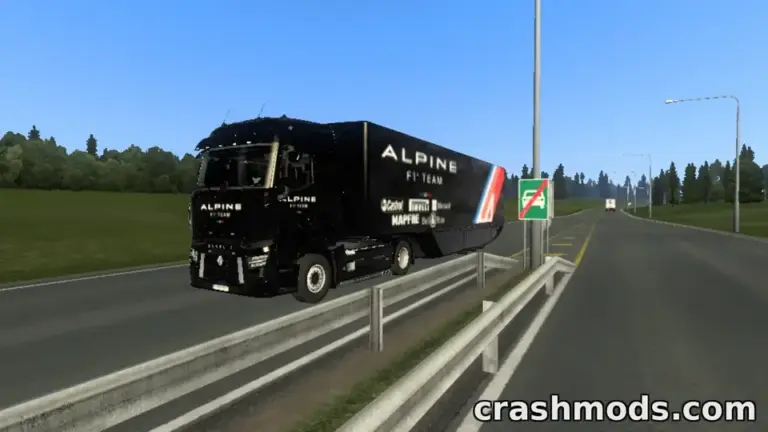 Paint job and skin mods for ETS2 and ATS: how they work, why one skin fits one truck, and what makes a good one