7 Days to Die modlets: using the Mods folder, XML mods and code mods
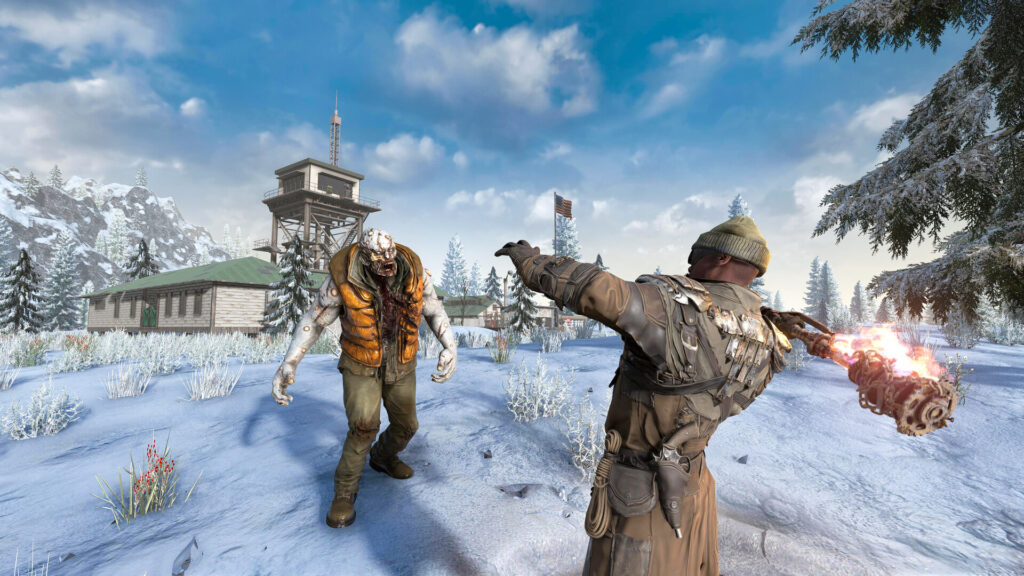
This guide is for 7 Days to Die players who want to add modlets without breaking their game or losing a save. By the end you will know where mods go, how XML mods differ from code mods, and how to test new additions without taking a risk you cannot undo.
Modlets are the standard way this game is modified. Rather than replacing the whole game, a modlet sits alongside your install and changes specific things, such as item stats, recipes, loot tables or UI elements. Some go further and add new mechanics through code. Knowing the difference matters before you install anything.
The Mods folder
Every modlet you download needs to go into a folder named Mods inside your game folder. If that folder does not exist yet, create it yourself using that exact name. Each modlet usually sits in its own subfolder inside Mods, so you end up with a clear, separate folder per mod rather than loose files mixed together.
Keep the structure the mod author intended. If a modlet comes as a folder with files already arranged inside, drop that whole folder into Mods without rearranging anything. Opening it up and moving pieces around is a common reason mods fail to load.
XML mods versus code mods
Most modlets only touch XML files. These control things like item properties, progression, loot, and recipes. XML mods are generally lower risk because they describe data rather than running new instructions, and they are easier to remove cleanly if something looks wrong.
Other modlets include code, usually in the form of DLL files. These can add new systems or behaviour the base game does not have. Code mods carry more risk than pure XML mods because they run as extra program logic alongside the game. Treat any modlet that includes a DLL as needing extra caution, and only take code mods from the author’s own page so you know what you are actually running.
Before you install anything
Back up your saves before you add any modlet, including ones that look simple. A save backup means you can always return to a working game if a mod causes a problem partway through a playthrough.
- Locate your save folder and copy it somewhere safe outside the game folder.
- Download the modlet from the author’s own page rather than a random reupload.
- Create or open the Mods folder inside your game folder.
- Place the modlet’s folder into Mods, keeping its internal structure intact.
- Start the game and load a save, then check that the game runs normally before doing anything else.
Start small and test
Install a small number of mods at first rather than loading up a dozen at once. If something breaks, a short list of mods is far easier to work through than a long one.
After adding a mod, play for a short session and watch for obvious problems: crashes, missing menus, items behaving oddly, or loot that does not match what you expected. If everything looks fine, add another modlet and repeat the same check. This slow approach costs a little time but saves you from untangling a mess later.
If you play online, check whether the server or mode you use allows modlets at all. Some multiplayer setups ban players for running unapproved mods, particularly code mods, so keep anything you are not sure about to single player until you have confirmed it is safe.
If something goes wrong
If the game fails to start, crashes on loading a save, or behaves strangely after adding a modlet, remove the most recently added mod first. Take its folder out of Mods completely rather than just renaming it, then restart the game and check if the problem clears.
If removing the last mod does not fix things, work backwards through the others one at a time until the game behaves normally again. This is slower than deleting everything at once, but it tells you exactly which modlet caused the issue instead of leaving you guessing.
If a save itself seems corrupted or broken after modding, restore the backup copy you made earlier. This is the whole point of backing up first: you lose a little recent progress, not the whole playthrough.
Uninstalling modlets
To remove a modlet, delete its folder from inside Mods and nothing else. Leave the rest of the Mods folder untouched so you do not accidentally remove something unrelated. XML-only mods tend to uninstall cleanly since they are just data. Code mods can occasionally leave behind effects in an existing save, so if you plan to drop a code mod permanently, starting a fresh save afterwards is the safer route.
Keep a simple text note of which modlets you have installed and in what order. It sounds basic, but it turns troubleshooting from a guessing game into a short checklist the next time something misbehaves.
 7 Days to Die V3.4.0 Stable Adds Backpack Search, Fixes Drones
 Sound mods in ETS2 and ATS: why every old one broke with FMOD in 1.37, how .bank mods work, and how to judge a pack
 The developer console in ETS2 and ATS: how to enable it, and the commands mod users actually need
 Installing Factorio mods from the in-game mod portal and managing settings